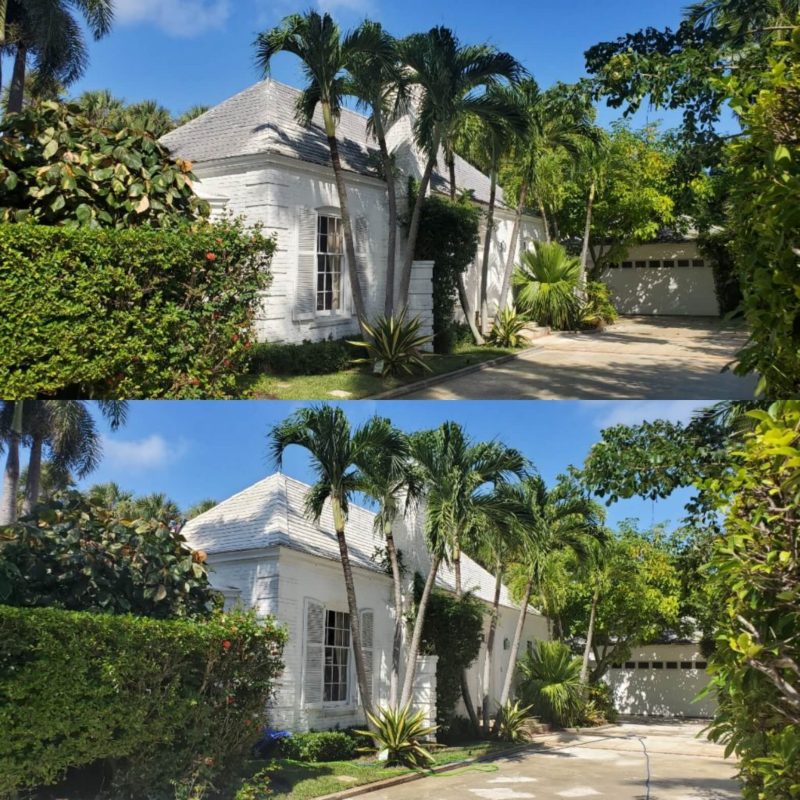
Paver surfaces are an attractive and durable choice for driveways, patios, walkways, and more. They provide a visually appealing and functional addition to outdoor spaces, but they are not immune to wear and tear. Paver sealing is a critical step in enhancing their appearance, preserving their longevity, and protecting them from environmental elements. In this comprehensive guide, we’ll take a deep dive into paver sealing, exploring its importance, benefits, process, and maintenance.
Why Paver Sealing Matters
Pavers are typically made of concrete, natural stone, or clay, and they are exposed to various factors that can degrade their appearance and structural integrity over time. Sun exposure, rain, freeze-thaw cycles, stains, and everyday foot traffic can take a toll on your paver surfaces. Paver sealing is a preventive measure to combat these challenges and provides the following advantages:
Enhanced Aesthetics: Paver sealing can significantly enhance the color and appearance of your pavers. It brings out the natural beauty of the materials, making them look vibrant and fresh.
Protection from Stains: Sealed pavers are less likely to absorb oil, grease, or other stains. The sealer creates a barrier that prevents contaminants from penetrating the surface.
Durability: Paver sealing reinforces the structural integrity of the surface, making it more resilient to heavy loads and reducing the risk of cracking or chipping.
Weed and Moss Prevention: Sealing helps inhibit the growth of weeds, moss, and algae in the joints between pavers, ensuring a cleaner, low-maintenance surface.
Easier Cleaning: Sealed pavers are easier to clean because the sealer prevents dirt and grime from adhering to the surface. Regular maintenance becomes more efficient.
Weather Resistance: Paver sealing provides protection against the damaging effects of UV rays, rain, and freeze-thaw cycles. This prolongs the lifespan of your pavers.
Improved Safety: Sealed pavers are less slippery, which enhances safety, especially in wet conditions.
The Paver Sealing Process
Paver sealing is a multi-step process that involves careful preparation, application, and curing. It’s essential to follow the proper procedure to ensure the best results:
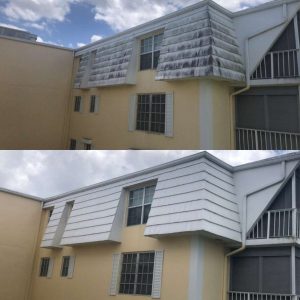
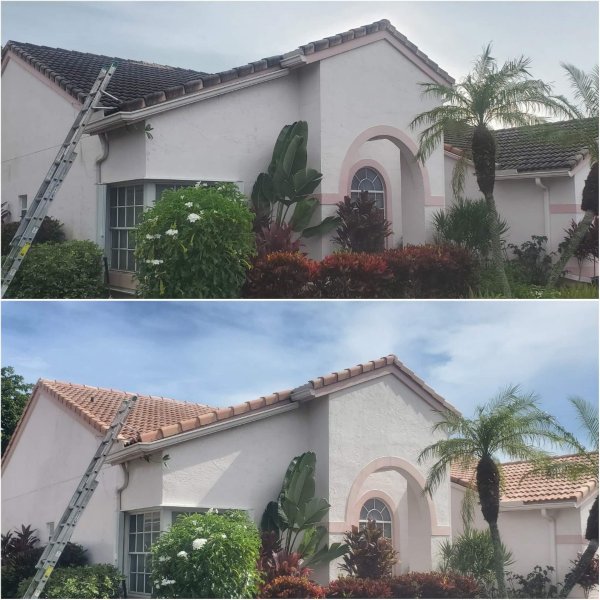
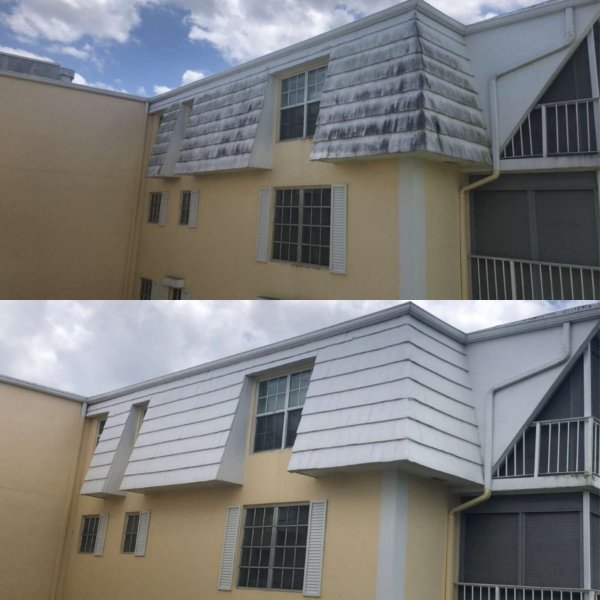
Surface Cleaning: Before sealing, it’s crucial to clean the pavers thoroughly. This involves removing dirt, debris, stains, and any efflorescence (white, powdery residue) that may have formed on the surface. Pressure washing is often used to achieve a clean, dry surface.
Joint Sand Inspection: Check the condition of the sand in the joints between the pavers. If it’s deteriorated, it may need replacement before sealing. Properly maintained joint sand helps secure the pavers and promotes stability.
Paver Sealer Selection: Choosing the right sealer is essential. Different types of pavers and applications may require specific sealers. Common options include water-based and solvent-based sealers, each with its unique characteristics.
Application: Apply the sealer evenly using a sprayer, roller, or brush, depending on the product and surface. Ensure complete coverage without over-application, which can lead to a milky or cloudy appearance.
Curing: Allow the sealer to cure for the recommended time, usually 24 hours or longer, depending on environmental conditions. Avoid foot or vehicle traffic during this period.
Inspect and Repeat: After curing, inspect the pavers to ensure the desired level of protection and appearance. In some cases, a second coat may be necessary for optimal results.
Maintaining Sealed Pavers
Paver sealing is a significant investment in the longevity and appearance of your outdoor surfaces. To maintain sealed pavers effectively, consider the following tips:
Regular Cleaning: Periodically clean your sealed pavers with a mild detergent and water to remove surface dirt and grime. Avoid harsh chemicals or pressure washing that could damage the sealer.
Weed Control: Inspect the joints between your pavers and remove any weeds or vegetation promptly. A joint sand stabilizer can help prevent weed growth.
Resealing: Sealer wears down over time, especially in high-traffic areas. Depending on the sealer used and environmental factors, you may need to reapply it every 2-5 years to maintain protection.
Avoid Harsh Chemicals: Refrain from using de-icing salts or harsh chemicals on sealed pavers, as they can deteriorate the sealer and damage the surface.
Regular Inspection: Keep an eye on the condition of your sealed pavers. If you notice any areas where the sealer has worn off or damage has occurred, address it promptly to prevent further deterioration.
Choosing the Right Paver Sealing Professional
While some homeowners choose to tackle paver sealing as a DIY project, many opt for the expertise of a professional. When selecting a paver sealing professional, consider the following factors:
Experience: Look for a contractor with experience in paver sealing. They should have a proven track record of delivering quality results.
References: Ask for references or examples of their previous work. A reputable professional should be willing to provide these.
Sealer Selection: Ensure the professional uses the right type of sealer for your specific pavers and application.
Insurance: Verify that the contractor has the necessary insurance coverage to protect you and your property in case of accidents or damage during the sealing process.
Cost: Request quotes from multiple professionals to ensure that you are getting a fair price for the work.
Paver sealing is a smart investment that not only enhances the beauty of your outdoor spaces but also extends the life and durability of your paver surfaces. By understanding the process, maintaining your sealed pavers, and choosing the right professional, you can enjoy the benefits of paver sealing for years to come.